01 / The detail
Start with a useful view of the whole window
A straight-on photograph shows the outline, while an angled photograph helps explain recess depth and nearby surfaces. Include the open window if it moves. Approximate overall sizes are helpful for an initial discussion, but they do not replace the detailed measurements needed for a shaped order.
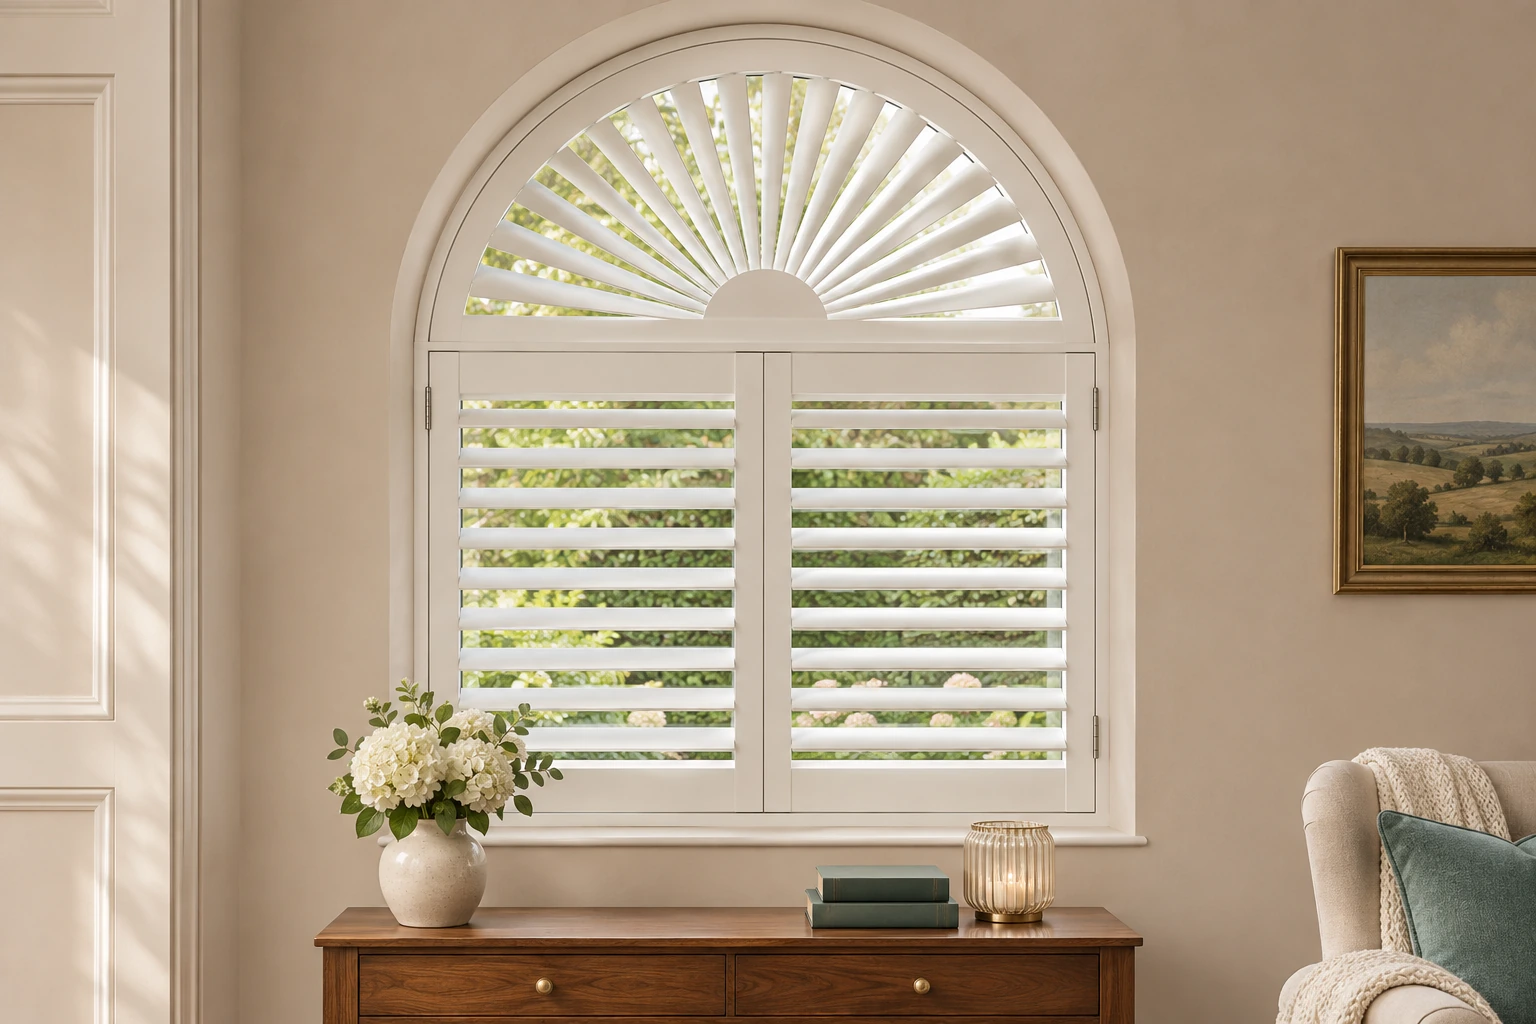
The survey records the actual geometry rather than assuming an arch is perfectly symmetrical. The manufacturer may need a template or an approved drawing. Any design limitations are resolved before the shape, material and operating arrangement are confirmed for production.
02 / The detail
Be precise about what needs to move
Following the window outline and opening like a standard shutter are different requirements. A shaped section can have fixed parts, restricted louvre travel or a panel that is intended to remain in position. We identify those details so that the appearance does not create the wrong expectation of use.
Tell us how you clean the glass and whether you need access to a latch, vent or opening sash. A high feature window may also need a practical way to reach its controls. If the proposed shutter compromises a function you need, we discuss an alternative treatment.
03 / The detail
Coordinate the shape with the rest of the room
Not every material or louvre size is available for every outline. Where ordinary rectangular shutters sit beside a shaped window, we check whether a compatible finish and frame can be used. Samples are useful for judging the result alongside painted joinery or natural timber.
Installation involves fitting the agreed design to an opening whose edges may be less regular than they appear. We check the moving parts and explain any fixed elements at handover. The finished specification should make clear what the shutter does as well as how it looks.